When you book a gas heater service in Melbourne, what are you actually paying for? What should a licensed gas fitter do when they come to service your heater? And how do you know if the service you received was thorough enough to actually make a difference?
These are important questions because the purpose of a gas heater service is not just to keep the heater running. It is to confirm the heater is safe. And a service that misses critical safety checks is not just inadequate, it gives you false confidence.
This article covers every step of a professional gas heater service, explains why each step matters and tells you what to look for to know whether the service you are booking is the real thing.
Why a Gas Heater Service Is About Safety First
Before the checklist, this point needs to be made clearly.
A gas heater service is not primarily about cleaning or maintenance. Those are important. But the primary purpose of a professional annual gas heater service is to confirm that your heater is safe to operate. Specifically:
- To confirm the heat exchanger is intact and not allowing combustion gases into the living space
- To confirm the gas connections are sealed and there are no leaks
- To confirm the burner is combusting gas completely and not producing elevated CO
- To confirm the flue is venting combustion gases outside and not back into the home
Every other aspect of the service, the cleaning, the efficiency restoration, the component checks, serves these safety outcomes. If a service does not address these four things, it has not adequately confirmed your heater is safe.
The Complete Professional Gas Heater Service Checklist
Step 1: Visual Inspection of the Entire Appliance
Before touching anything, the licensed gas fitter should carry out a visual inspection of the entire heater, casing condition, controls, visible connections, flue connection, ventilation pathways and the overall state of the unit.
What are they looking for? Signs of physical damage, corrosion, evidence of previous overheating (discolouration, melted components), evidence of previous gas leaks (sooty deposits around fittings) and the approximate age and condition of the unit.
This takes 2 to 3 minutes and provides important context for the rest of the service.
Step 2: Burner Inspection and Clean
The burner is the heart of the gas heater. Over time, dust, debris, carbon deposits and occasionally spider webs accumulate on and inside the burner assembly. This restricts gas flow through the burner ports, causing uneven combustion, reduced heat output and, in severe cases, incomplete combustion that produces carbon monoxide.
A professional burner clean involves
- Removing the burner assembly where accessible
- Cleaning all burner ports the small holes through which gas flows
- Removing carbon deposits from the burner surface
- Inspecting the burner for physical damage or corrosion
- Confirming the air inlet pathways are clear
This is the most physically involved part of the service and it is where the most significant efficiency improvements are typically achieved.
Step 3: Heat Exchanger Inspection
The heat exchanger is the most critical safety component in a gas heater. It separates the combustion gases, including carbon monoxide, from the air circulating into your home. A cracked heat exchanger is one of the most serious safety faults a gas heater can have.
A professional heat exchanger inspection involves
- Visual inspection for cracks, corrosion, discolouration or physical damage
- Checking for sooty deposits on the air side of the exchanger (a sign of a breach)
- Confirming the exchanger is properly sealed at all connection points
For older heaters where heat exchanger failure is more likely, this is the most important visual inspection in the service.
Step 4: Flue System Inspection
The flue carries combustion gases safely outside the home. A blocked, damaged or incorrectly connected flue can cause combustion gases to vent into the home rather than outside.
A professional flue inspection involves
- Checking the flue connection at the appliance confirming it is secure and sealed
- Checking the flue pipe for visible damage, blockage or disconnection
- Confirming correct flue termination at the external flue cap
- Checking for signs of flue gas spillage sooty deposits around the flue collar or at the appliance
For ducted systems, this also includes checking that the combustion air intake is clear and unobstructed.
Step 5: Gas Connection and Pressure Test
This is one of the two most important technical steps in the service. A gas pressure test involves:
- Isolating the meter and pressurising the gas system to a test pressure
- Monitoring for any pressure loss over a set period
- A pressure drop indicates a leak somewhere in the system
The pressure test identifies micro-leaks at connection points, fittings and flexible hoses that are too small to detect by smell. Without a pressure test, a service cannot confirm the gas system is leak-free.
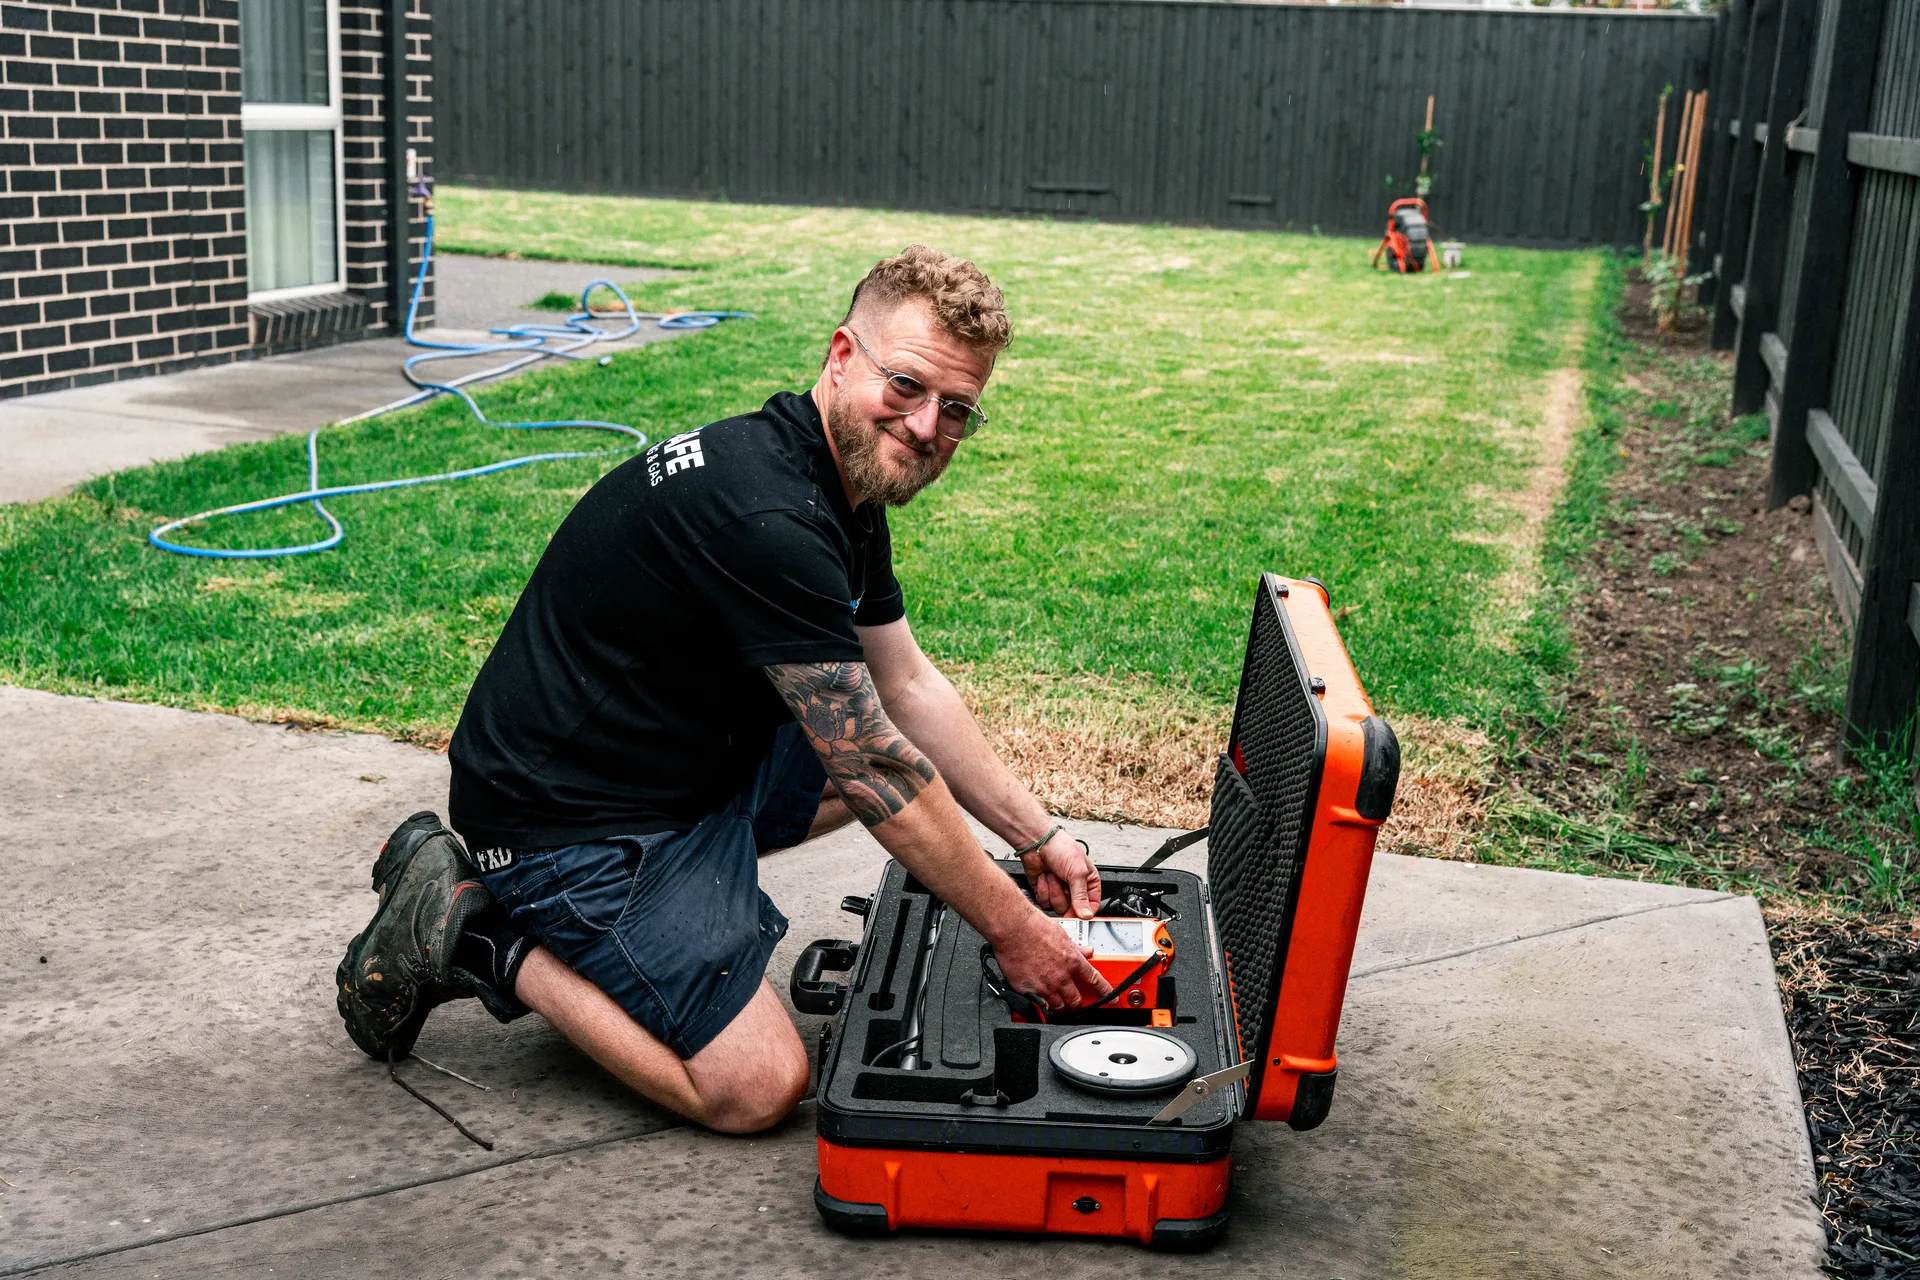
Additionally, the gas fitter should carry out an electronic gas leak check at all accessible connections, fittings and the flexible gas hose using a calibrated gas detection instrument.
The flexible gas hose should also be inspected for age, condition and compliance. Hoses over 10 years old should be flagged for replacement.
Step 6: Pilot Light and Ignition System Inspection
For heaters with a standing pilot light, the pilot assembly should be inspected and cleaned:
- Pilot jet inspection and clean remove any blockage from the small orifice
- Thermocouple inspection and test confirm the thermocouple is producing adequate voltage to hold the gas valve open
- Pilot flame quality check confirm the pilot is burning with a clean, stable blue flame that correctly envelops the thermocouple tip
For heaters with electronic ignition
- Ignition electrode inspection check the electrode tip condition and the spark gap
- Flame sensor inspection confirm the sensor is clean and correctly positioned
- Ignition sequence test confirm the heater ignites cleanly on the first attempt
Step 7: Fan Motor Inspection (Ducted and Fan-Assisted Systems)
For ducted gas heating systems and fan-assisted heaters
- Visual inspection of the fan motor and fan blades
- Check for excessive fan bearing noise or vibration
- Electrical check of the fan motor windings (where accessible)
- Fan capacitor check test start and run capacitors for correct operation
- Fan speed check confirm the fan is reaching the correct operating speed
A failing fan capacitor is one of the most common ducted heating faults we identify during servicing. Replacing a $30 capacitor during a scheduled service avoids a $250 emergency callout when the capacitor fails completely in July.
Step 8: Return Air Filter Inspection and Clean (Ducted Systems)
The return air filter is the most maintenance-critical component in a ducted gas heating system. It should be inspected at every service.
- Remove and inspect the filter
- Clean or replace if blocked or damaged
- Advise the homeowner on the correct cleaning frequency for their property
If the filter has never been cleaned or is excessively blocked, this alone may explain a range of system faults including overtemperature shutdowns, reduced heat output and high running costs.
Step 9: Thermostat Calibration and Controls Check
- Confirm the thermostat is reading the correct room temperature
- Check zone controller operation on ducted systems
- Confirm all controls respond correctly to inputs
- Check the temperature setting and confirm the system heats to the set temperature
Step 10: Carbon Monoxide Combustion Test
This is the single most important safety test in the entire service. Every professional gas heater service must include a carbon monoxide combustion test using calibrated combustion analysis equipment.
The CO test measures the concentration of carbon monoxide in the heater's flue gases. An elevated CO reading indicates incomplete combustion, which may be caused by a dirty burner, a cracked heat exchanger, inadequate combustion air or incorrect gas pressure. Any CO reading above the safe threshold requires investigation and resolution before the heater is returned to service.
This test cannot be performed with a domestic CO alarm. A domestic CO alarm detects CO in the room air, it does not measure CO in the flue gases. CO combustion testing requires professional calibrated combustion analysis equipment.
If the service provider you are considering does not include a CO combustion test, ask why. The answer will tell you a great deal about the quality of service you are about to receive.
Step 11: Written Service Record
Every professional gas heater service should conclude with a written service record provided to the homeowner. This record should document:
- The date and address of the service
- Every test and inspection carried out
- The results of the CO combustion test
- The results of the gas pressure test
- Any faults identified and recommendations made
- The name and licence number of the attending gas fitter
This written record is your maintenance history, your warranty documentation and, for rental properties, your compliance evidence.
What to Do If Your Last Service Did Not Include All of These Steps
If you have had a gas heater serviced recently and you are not confident the service included a CO combustion test and a gas pressure test, we recommend booking a proper professional service now.
The consequences of an undetected CO issue or a slow gas leak are serious. The cost of a professional annual service is modest. The peace of mind is significant.